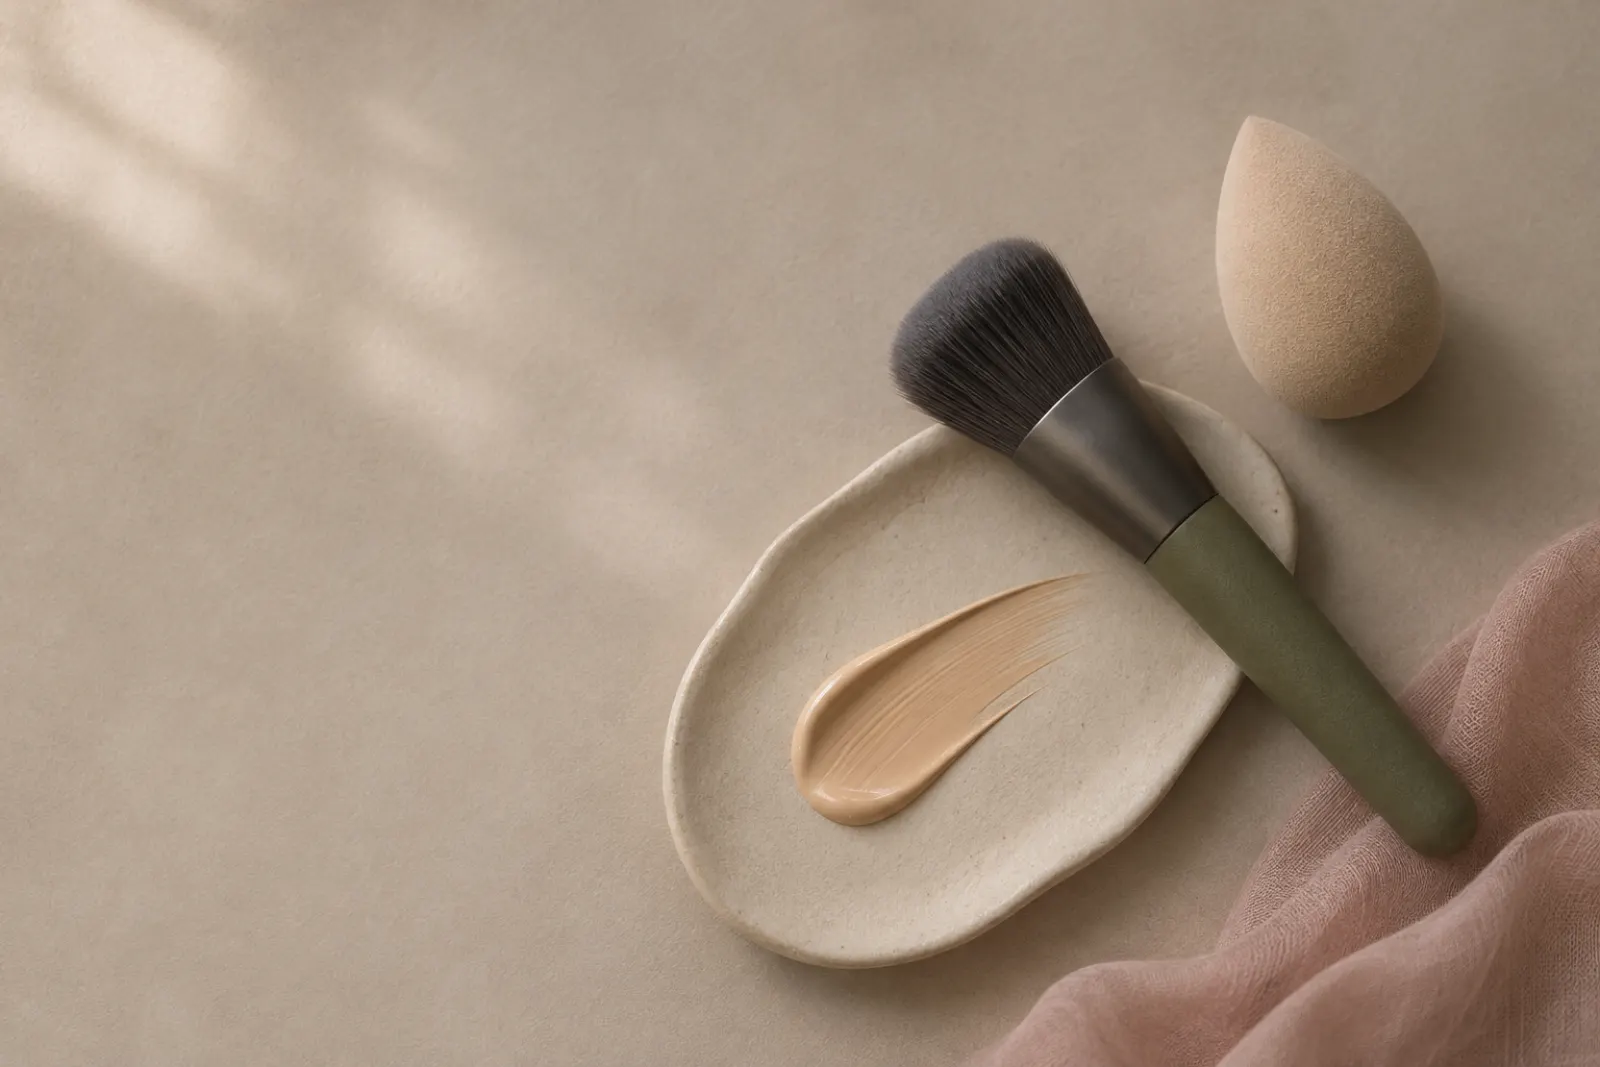
Most of us settle on one way of applying foundation early on and never think about it again. The tool you use shapes the finish as much as the formula does, though: how much coverage you get, how the product sits on texture, and how well it holds up through a sticky afternoon on the MTR. Brushes, sponges and fingers each have a job they do well. Once you know what that job is, choosing gets much easier.
Fingers: quick, warm and forgiving
Fingers are the tool you always have on you, and they are better than their reputation suggests. Your skin's warmth softens creams, tinted moisturisers and skin tints, so they melt in and look like skin rather than a layer sitting on top.
- Best for: sheer to light coverage, cream and liquid formulas, dewy finishes, touch-ups on the go.
- How to do it: dot product on the centre of the face, then press and pat outwards. Pressing keeps the coverage where you want it, while rubbing tends to move it around.
- Watch for: streaks around the nose and hairline, and oil from your hands on skin that is already oily. Wash your hands first, every time.
If your morning routine is short and you prefer a barely-there base on humid days, fingers are often all you need.
Brushes: control and coverage
A brush lets you build coverage in thin, even layers, which is useful when you want a more polished look or are working with a thicker formula.
- Flat foundation brushes paint product on and give the most coverage, though they can leave stroke marks if you don't blend.
- Dense, rounded or flat-top brushes buff product in with small circles for an airbrushed finish. They suit most liquids and are the usual choice for powder foundation.
- Fluffy, looser brushes sheer things out and are good for setting powder or a light veil of mineral foundation.
Buffing can catch on dry patches and lift flakes, so a hydrating step beforehand helps. On textured or acne-prone skin, a stippling motion (gentle tapping) usually looks smoother than sweeping strokes.
Sponges: the natural, skin-like middle ground
A damp makeup sponge presses product into the skin and soaks up the excess as it goes. That is why sponge-applied base tends to look fresher and lighter than the same formula from a brush.
- Best for: natural to medium coverage, blending concealer, softening an over-applied base, and combination skin.
- How to do it: wet the sponge fully, squeeze it out until it is just damp, then bounce it across the skin. A dry sponge drinks up product and can look patchy.
- Watch for: product waste, and hygiene. A damp sponge in a warm, humid bathroom is an easy place for bacteria to grow.
A sponge is also handy for midday repairs. Pressing a clean, damp sponge over shiny areas lifts oil and blends any separation before you add powder.
Matching tool to skin and climate
There isn't one correct method, but a few pairings tend to work well:
- Oily skin, humid weather: a thin layer applied with a damp sponge or a dense brush, with powder set only where you need it.
- Dry or mature skin: fingers or a damp sponge, which avoid dragging and keep the finish supple, particularly after hours in air-conditioned offices.
- Sensitive skin: fingers or a very soft brush, with clean tools a priority. Persistent redness or breakouts are worth raising with a pharmacist or dermatologist. This is general information, not medical advice.
- More coverage needed: brush to lay down the base, then a damp sponge to press it in and take off the excess.
Mixing methods is normal. Plenty of people use fingers for tinted moisturiser on weekends and a brush before a long workday.
Keeping tools clean
Whatever you use, cleanliness matters as much as technique. Old product and oil build up quickly in Hong Kong's humidity.
- Wash sponges after every use or two, and let them dry fully in an airy spot rather than a closed drawer.
- Wash foundation brushes weekly with a gentle cleanser, then dry them lying flat or bristles down so water does not loosen the glue.
- Replace sponges that are torn, stained or smell off. Replace brushes that shed or have lost their shape.
Next steps
Your base can only look as good as the skin underneath it, so start with a simple skincare routine and a sunscreen that sits well under makeup. Our guide to sunscreen for Hong Kong can help with that. Then browse the makeup shelf, look at application tools, or see more ideas in makeup and the Journal.